3D Printers
Fused Deposition Modeling (FDM) printers for rapid prototyping, functional parts, artistic models, and everything in between. KEC students and staff pay market price for materials used.
The Printers
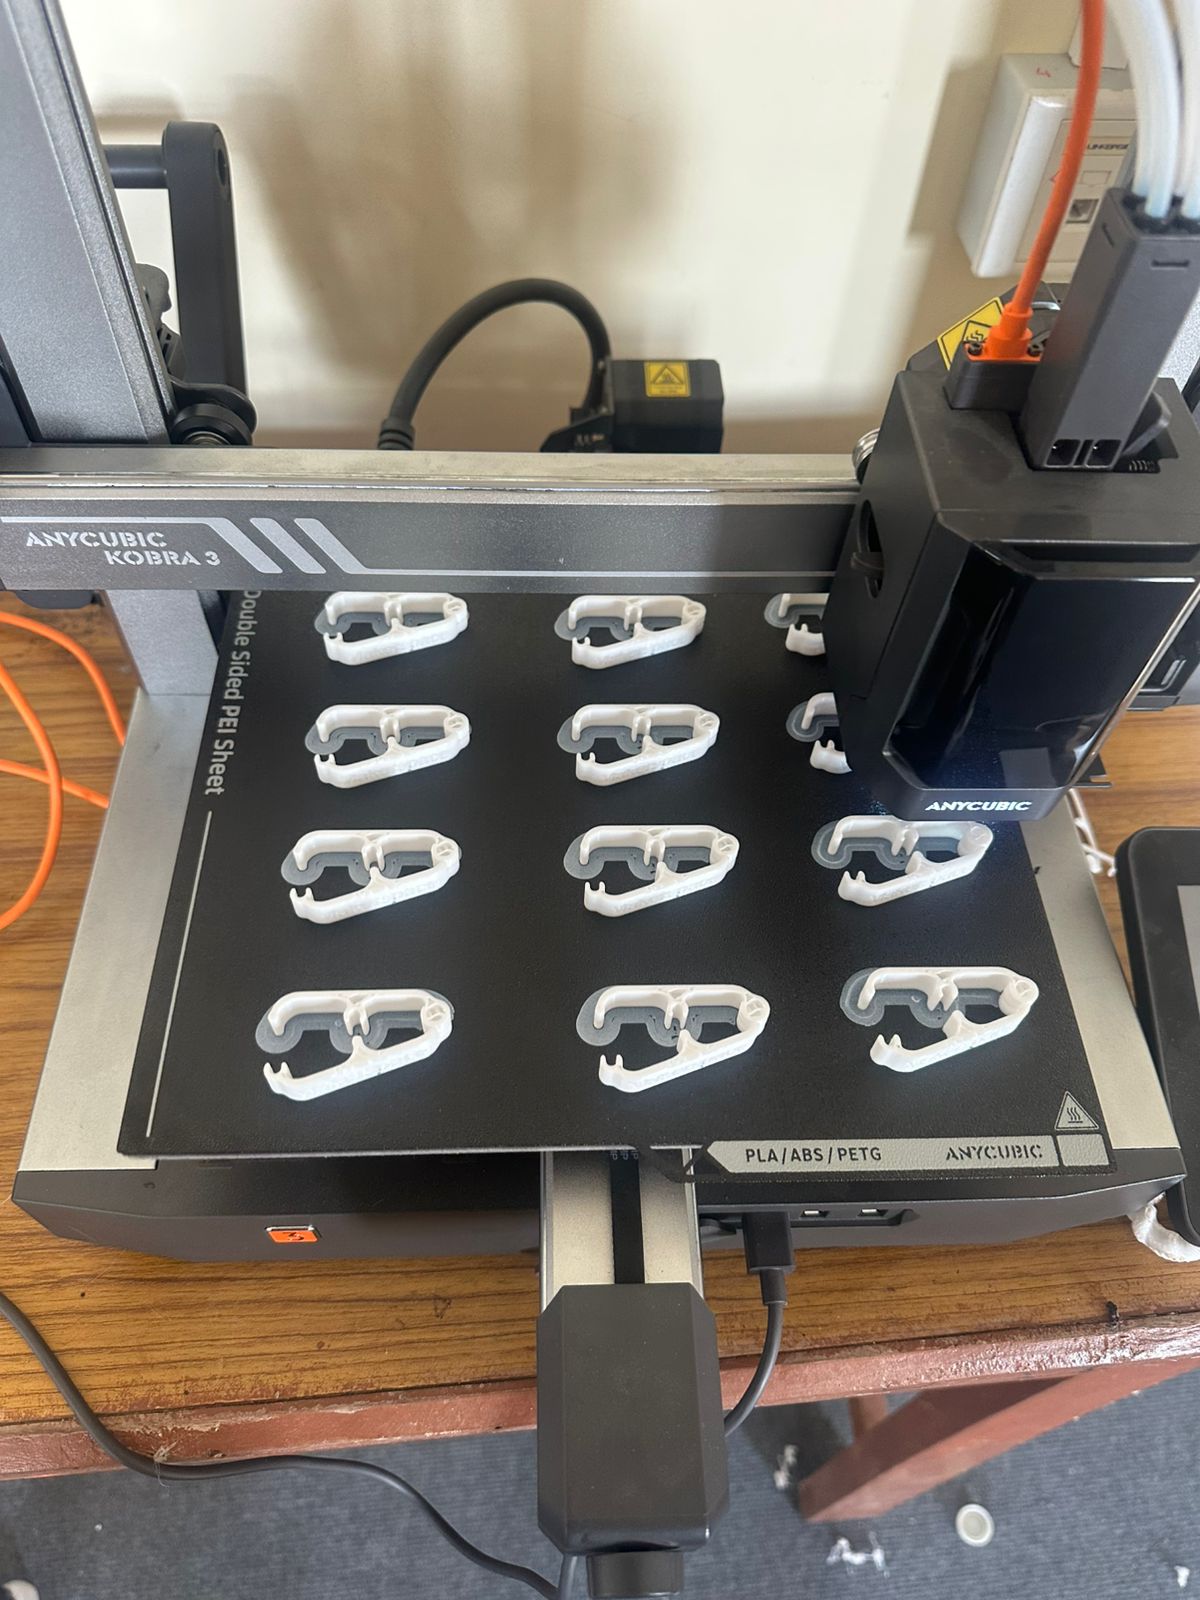
Anycubic Kobra Neo 2
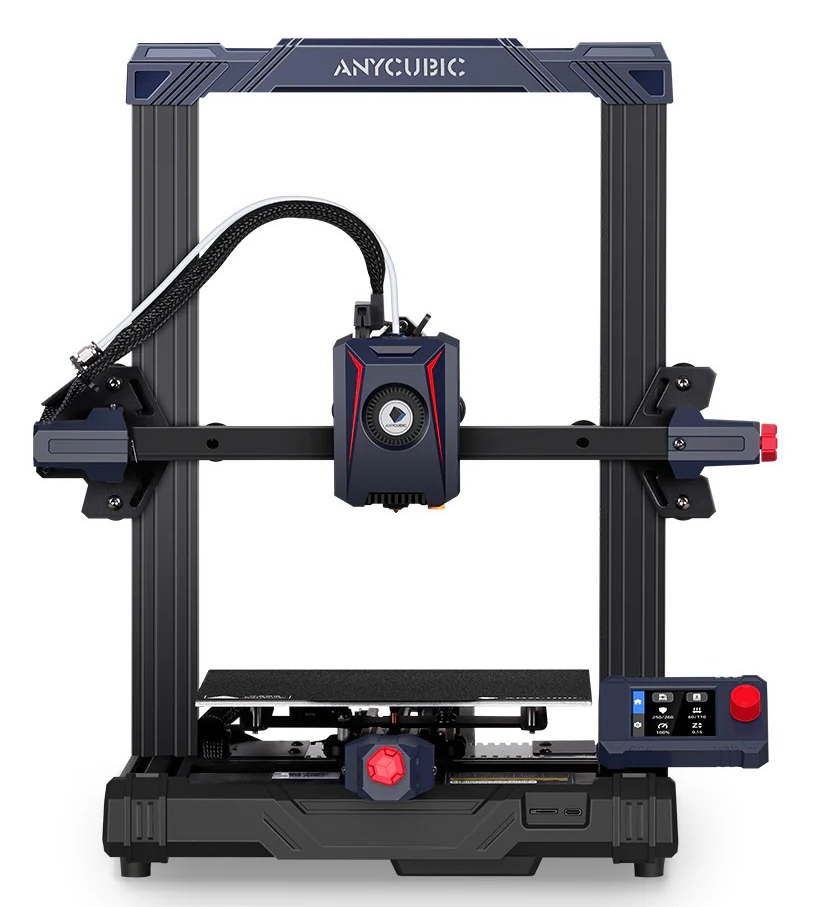
- Single-material FDM printing
- Build volume: 220 × 220 × 250 mm • Max speed: 250 mm/s
- Auto bed levelling • Supports PLA, PETG, TPU
Best for: first prints, simple prototypes, single-color parts, functional components.
Anycubic Kobra 3
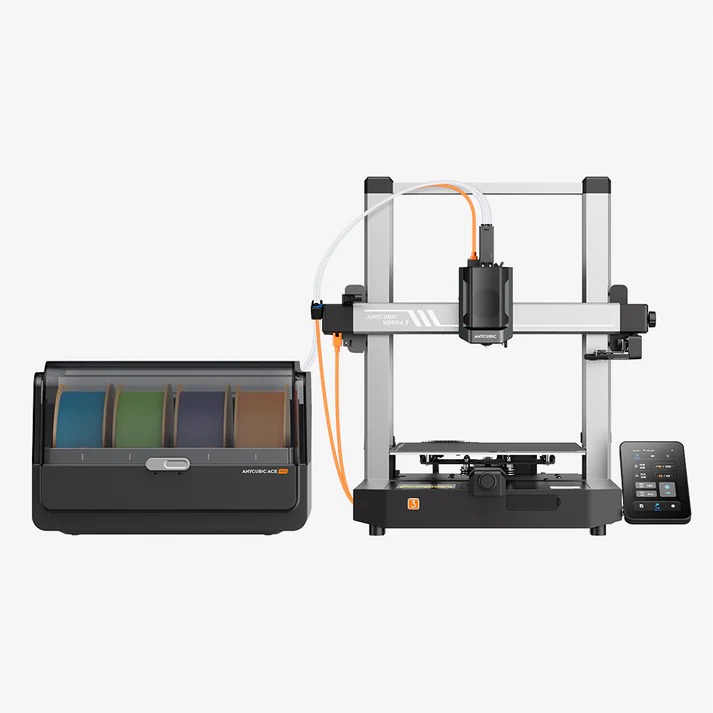
- Multi-color / multi-material printing (AMS)
- Build volume: 250 × 250 × 260 mm • Max speed: 500 mm/s
- Auto bed levelling • Supports PLA, PETG, TPU, ABS, ASA
Best for: colourful models, prototypes with multiple materials, complex assemblies.
Bambu Lab A1
Two Bambu Lab A1 units available for production-ready prints and multi-material prototyping.
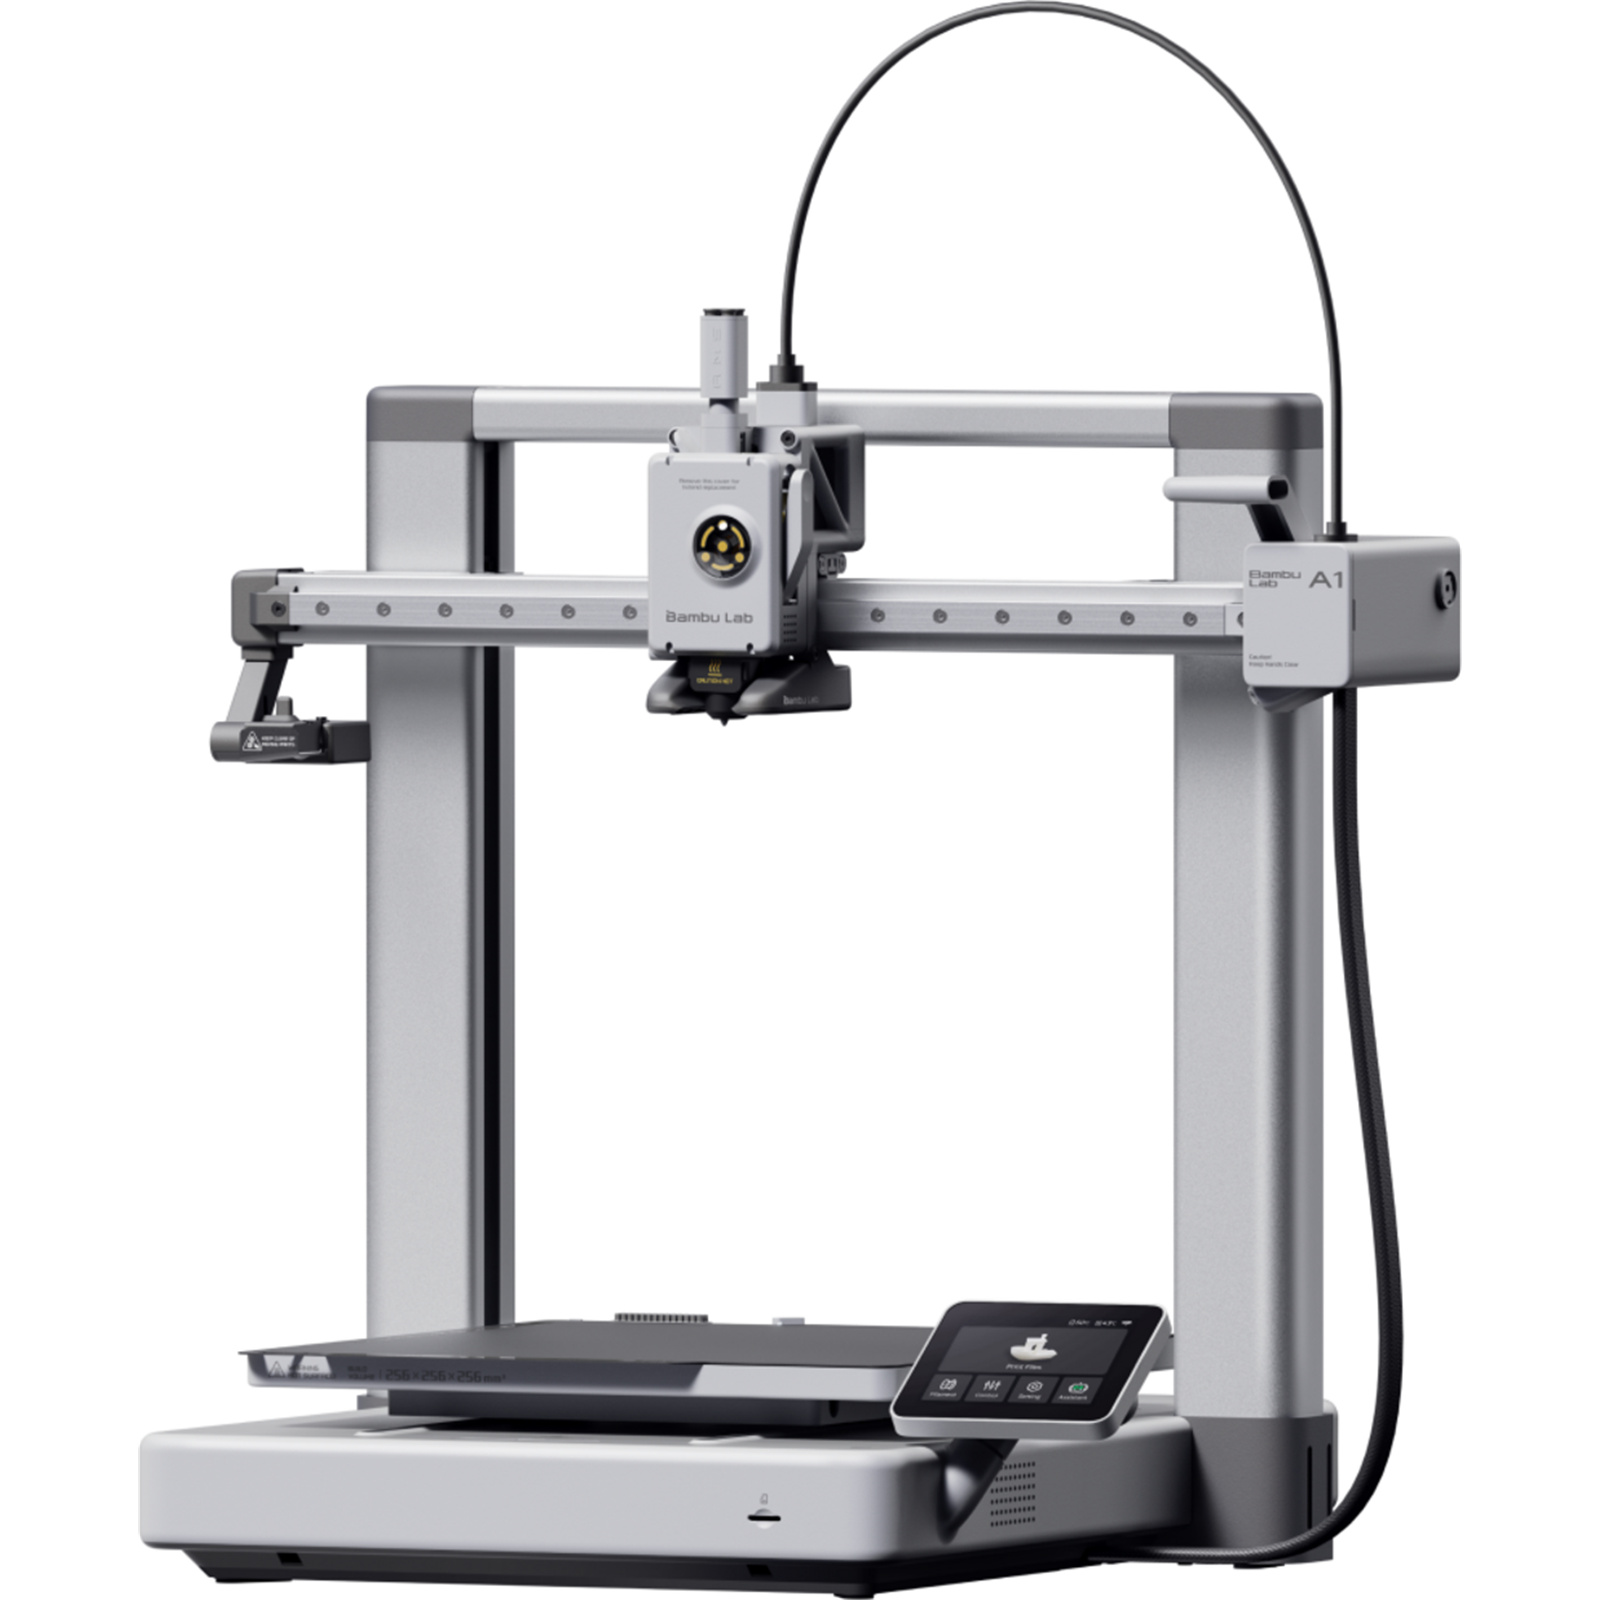
- Build volume: 256 × 256 × 256 mm • AMS Lite multi-material support
- High-speed printing with advanced motion control and auto bed leveling
- Supports PLA, PETG, TPU, ABS, ASA and rapid prototype production
Best for: fast iteration, multi-color parts, functional prototypes, and small batch production.
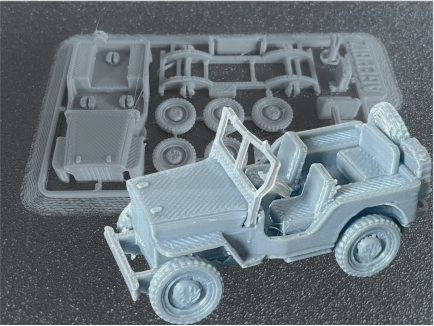
Projects Made With This

New to 3D Printing?
Here's the complete flow from idea to finished object. It's simpler than it looks.
Start with a sketch
Draw your idea on paper first. Work out the rough dimensions, shapes, and how parts fit together. This doesn't need to be perfect, just enough to guide your 3D model. Even a quick phone photo of your sketch works as a reference.
Create or download a 3D design
You have two options: 1. model it yourself using software like Fusion 360, Tinkercad, or Blender; 2. download a ready-made model from sites like Thingiverse, Printables, or MakerWorld. Your file needs to end up as a .STL or .3MF file.
Alternatively, use the 3D Scanner to scan a real object and print from that scan.
Slice your model
Open your .STL file in a slicer. We use Anycubic Slicer. The slicer converts your model into instructions the printer can follow: layer height, print speed, supports, infill density. It will also give you an estimated time and material weight. Export as a .gcode file.
Hit print
Load your .gcode onto the printer, choose your filament, and start the print. The trainer will walk you through this on your first session. Once certified, you can do this entirely independently — load, start, and come back when it's done.
Training & Booking
Training
- Training required before independent use
- Conducted by Bistrit (Technical Lead) & Jibi (Trainer)
- Typically 1–2 hours hands-on
- Ends with a 10-minute quiz
- Pass = certified, permanent access
Booking
- Walk in during open hours (Mon–Fri, 9 AM – 6 PM)
- Or contact us to reserve a slot in advance
- Max 4 hours per session per machine
- Cancel 2+ hours before to avoid penalty
- Non-certified users may observe only